搭建Ubuntu+Nginx+MySQL+PHP7环境
环境安装
教程参考https://segmentfault.com/a/1190000013035065
安装Nginx
1 | apt-get update |
安装好后访问本地IP(或域名)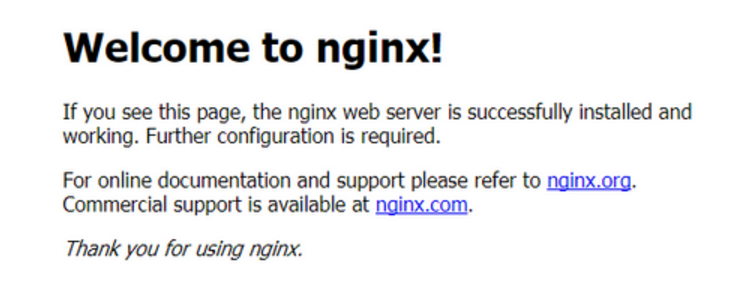
安装MySQL
1 | apt-get install mysql-server |
安装过程会提示输入root密码
安装PHP7
1 | apt-get install php-fpm php-mysql |
配置修改
修改Nginx的配置文件中的server配置:
1 | vim /etc/nginx/sites-available/default |
1 | server { |
重启服务
1 | /etc/init.d/nginx restart |
测试PHP与Nginx有没有集成成功(路径是在之前nginx配置文件中的”root /var/ww/html;”)
1 | vim /var/www/html/info.php |
内容为
1 |
|
再次访问,看到php信息则访问成功
wordpress部署
下载最新版
1 | wget http://wordpress.org/latest.tar.gz |
命令行下载较慢,可以直接打开连接下载,然后传到服务器上
解压
1 | tar -xzvf latest.tar.gz |
创建wordpress需要用到的数据库和用户
1 | mysql -u root -p # 然后输入之前设置的密码 |
1 | # 创建数据库: |
配置WordPress
重命名示例文件wp-config(此处的路径/root/wordpress对应你自己的存放路径)
1 | mv /root/wordpress/wp-config-sample.php /root/wordpress/wp-config.php |
修改的内容包括DB_NAME,DB_USER,DB_PASSWORD,如果数据库不在本地则修改DB_HOST
1 | // ** MySQL settings - You can get this info from your web host ** // |
配置Nginx
将wordpress内容全部拷贝到之前的html路径下
1 | cp -r /root/wordpress/* /var/www/html |
修改权限:
1 | chown -R www-data:www-data /var/www/html |
重启Nginx服务:
1 | /etc/init.d/nginx restart |
安装WordPress
访问IP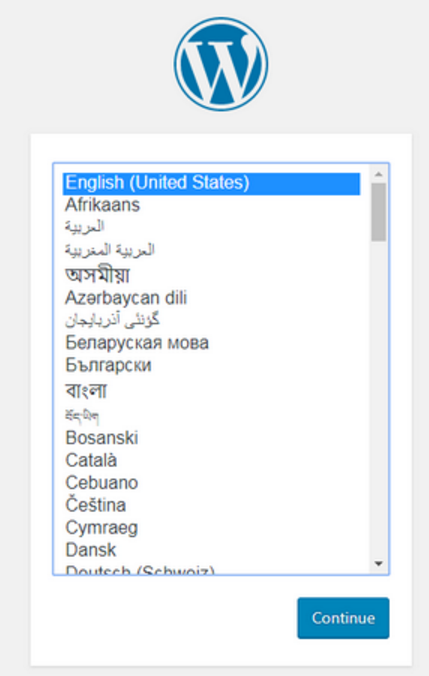
选择语言->设置标题与管理员用户名与密码以及电子邮件->安装WordPress
访问http: //your_ip/wp-login.php ,输入刚才的用户名、密码进入后台进行管理
wordpress设置
使用的插件
1 | Markdown Editor #支持Markdown语法 |
问题解决
修改链接后访问文章404问题
问题描述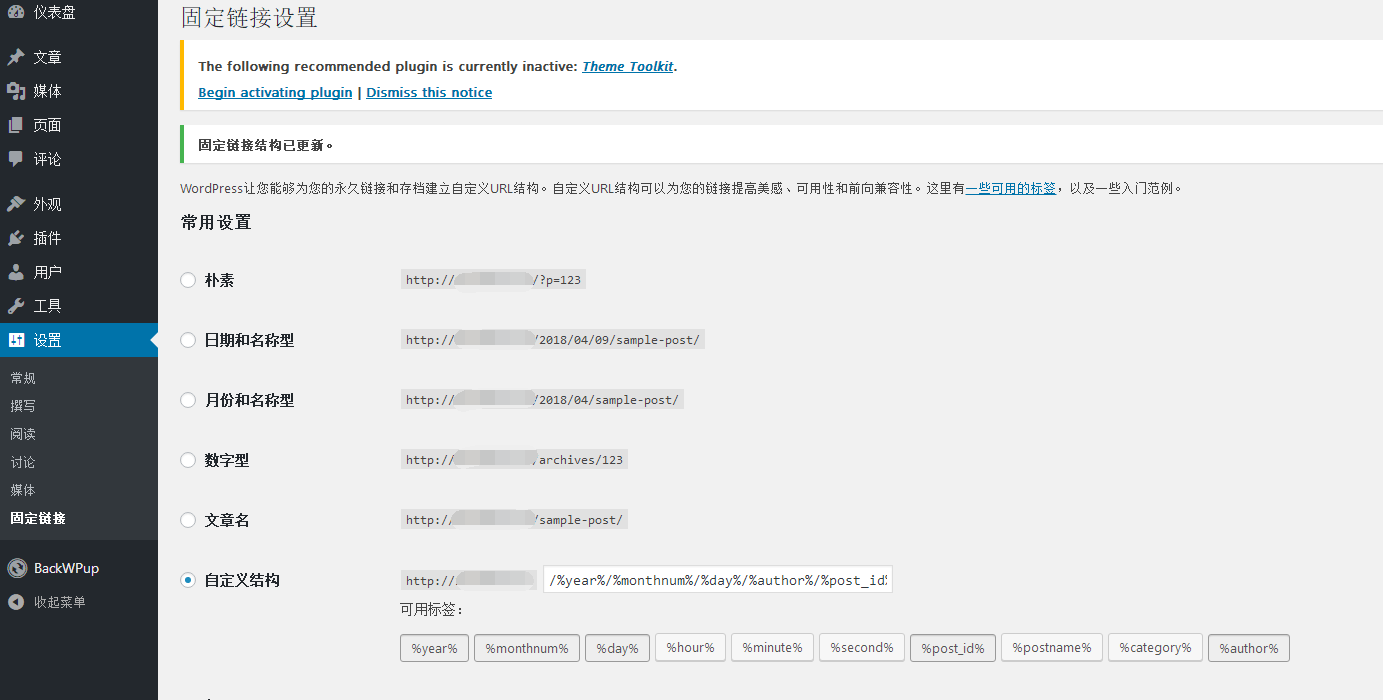

解决办法
修改Nginx的配置文件中的server配置
文件绝对路径: /etc/nginx/sites-available/default

1 | try_files $uri $uri/ /index.php; |
重启服务
1 | /etc/init.d/nginx restart |
文件上传限制
问题描述
图片文件过大无法上传
解决办法
修改nginx配置文件中的server配置
文件绝对路径: /etc/nginx/sites-available/default
在server中添加:client_max_body_size 20m;
1 | server{ |
重启服务
1 | /etc/init.d/nginx restart |
裁剪图片时发生错误
问题描述

解决办法
1 | apt-get install php-gd |
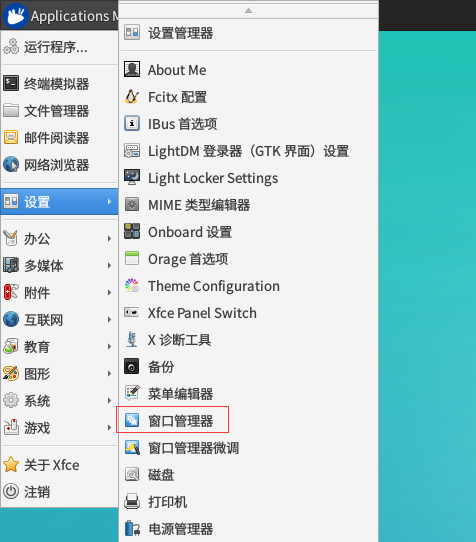
远程下终端无法tap补全命令
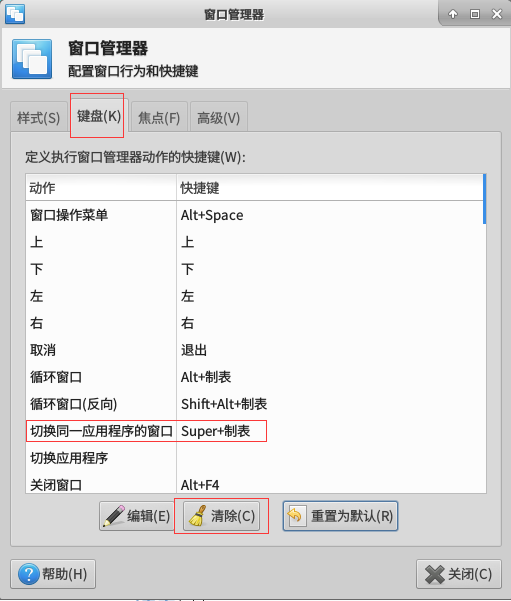
在远程桌面中设置,打开菜单->设置->窗口管理器,或者在终端中输入xfwm4-settings打开(xfwm4就是xfce4 window manger的缩写)
选择键盘,可以看到窗口快捷键中动作一列有“切换同一应用程序的窗口”选项,将该选项的快捷键清除后关闭窗口即可